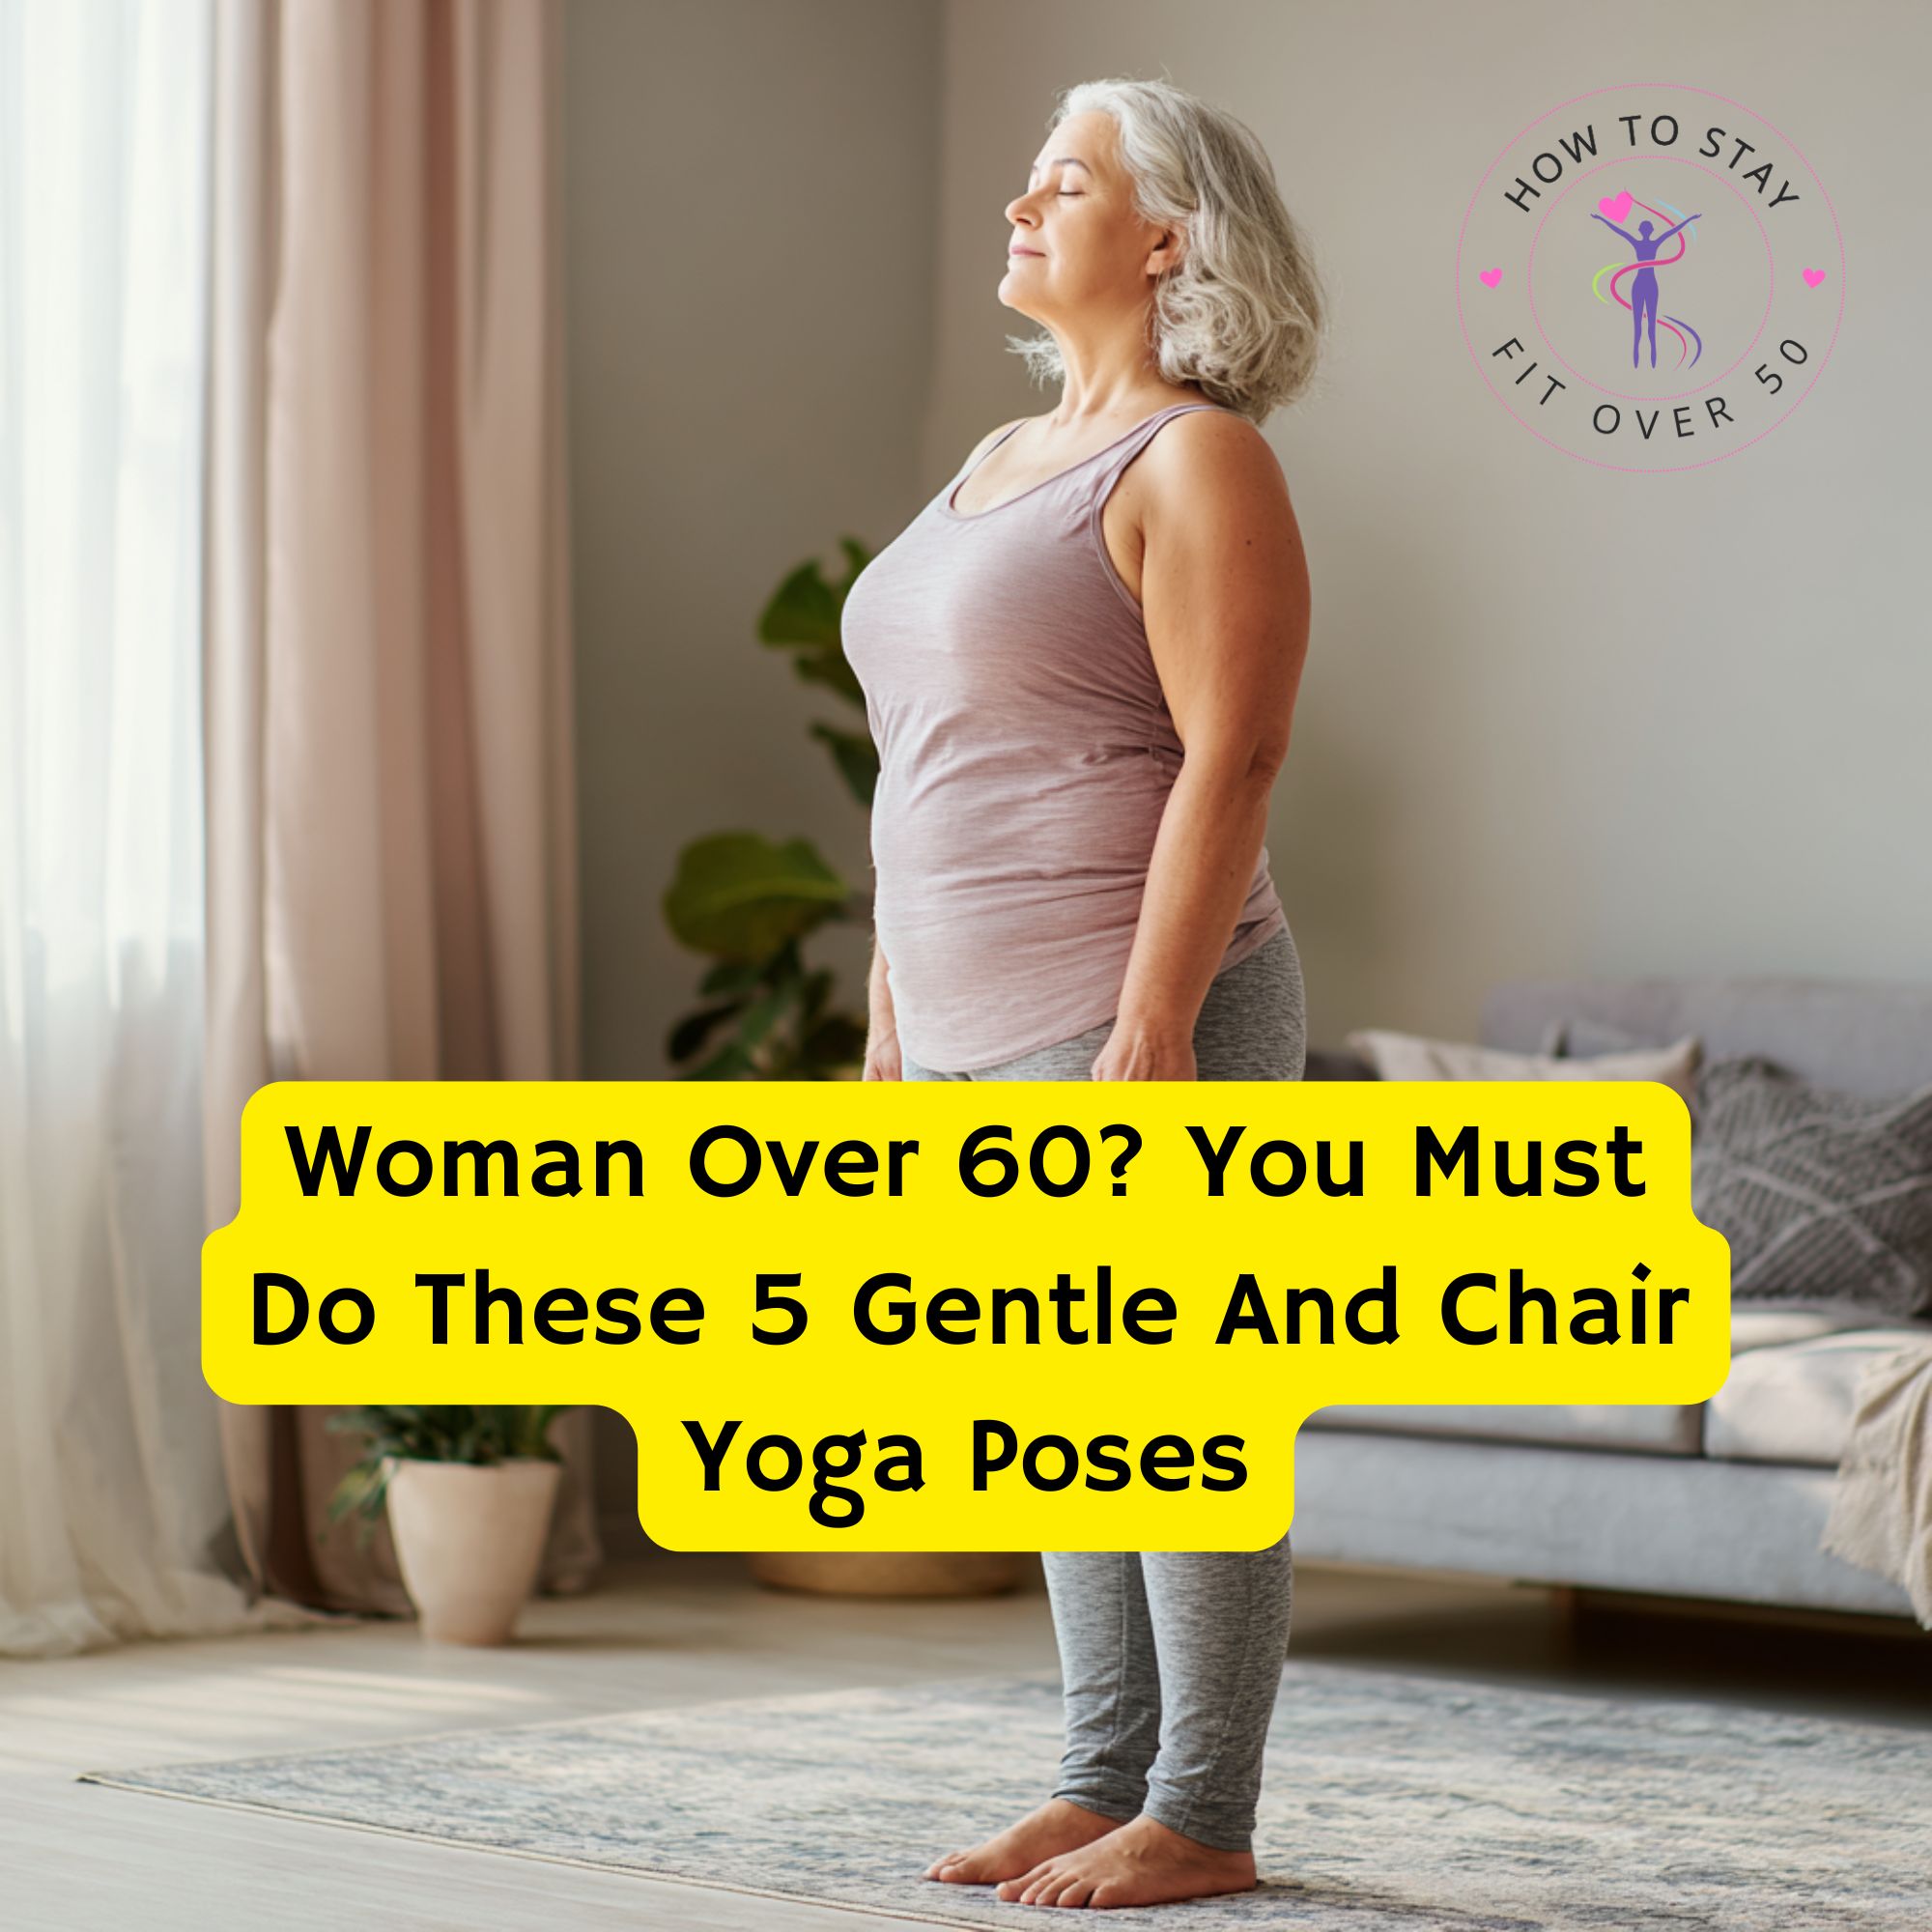
Easy Moves for Strength, Flexibility & Calm Yoga. I know, I know. The first thing you think of when you hear yoga is bend like a pretzel, or risk ...
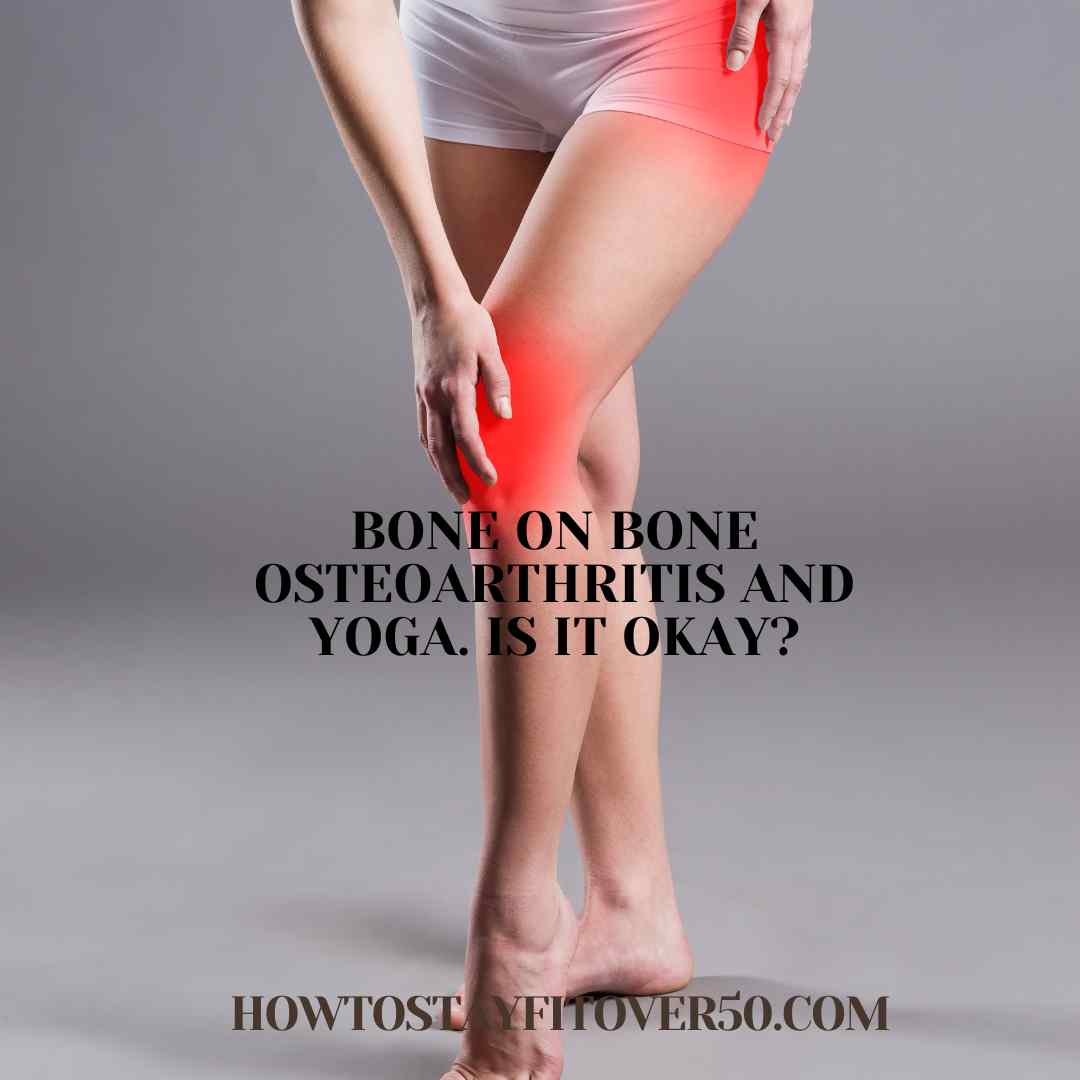
One popular method for dealing with osteoarthritis is through the practice of yoga. But are bone on bone osteoarthritis and yoga a good mix?
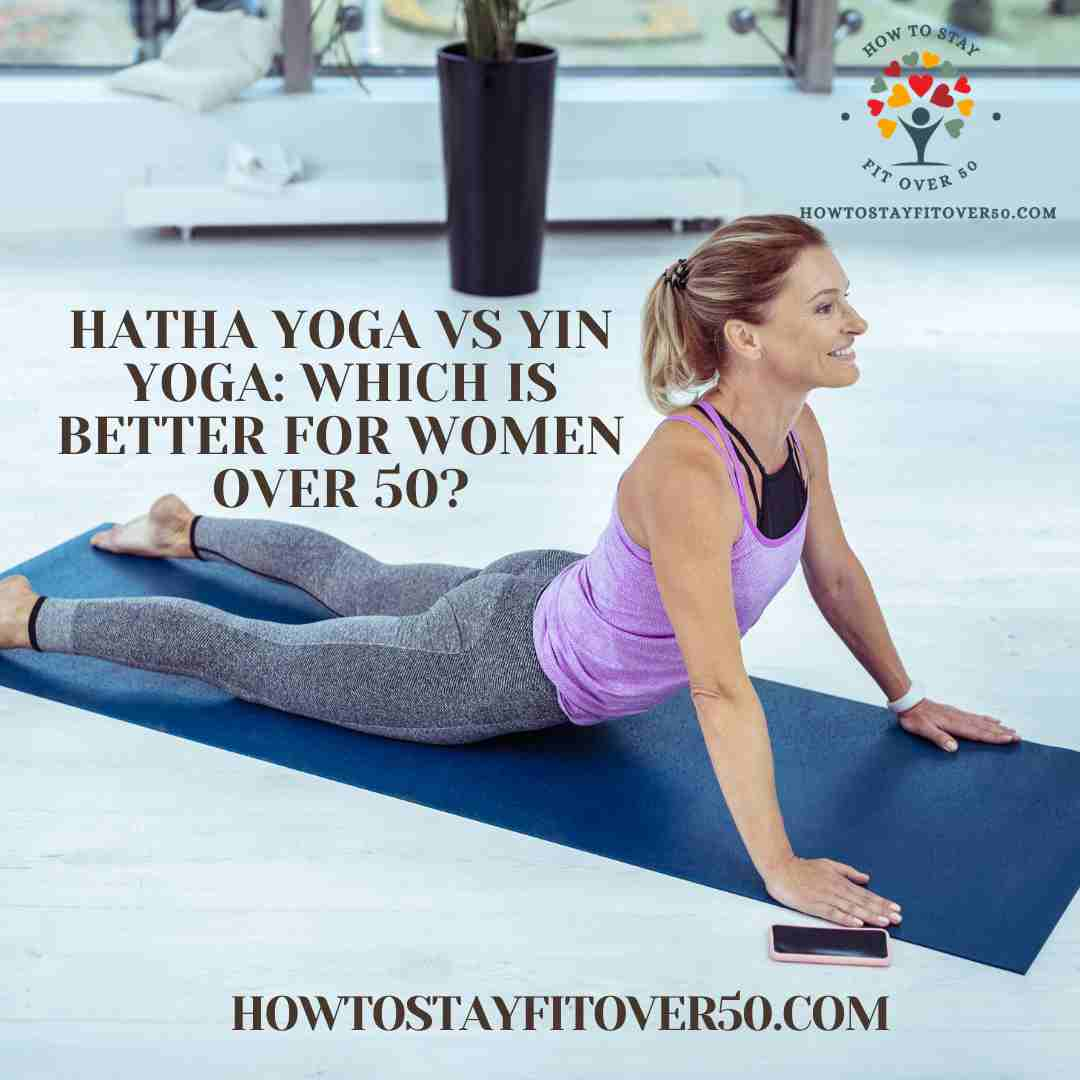
So, you've hit the golden age, but your quest for flexibility, inner peace, and a rock-solid core hasn't waned? Welcome to the over 50 club! Yoga is calling, ...
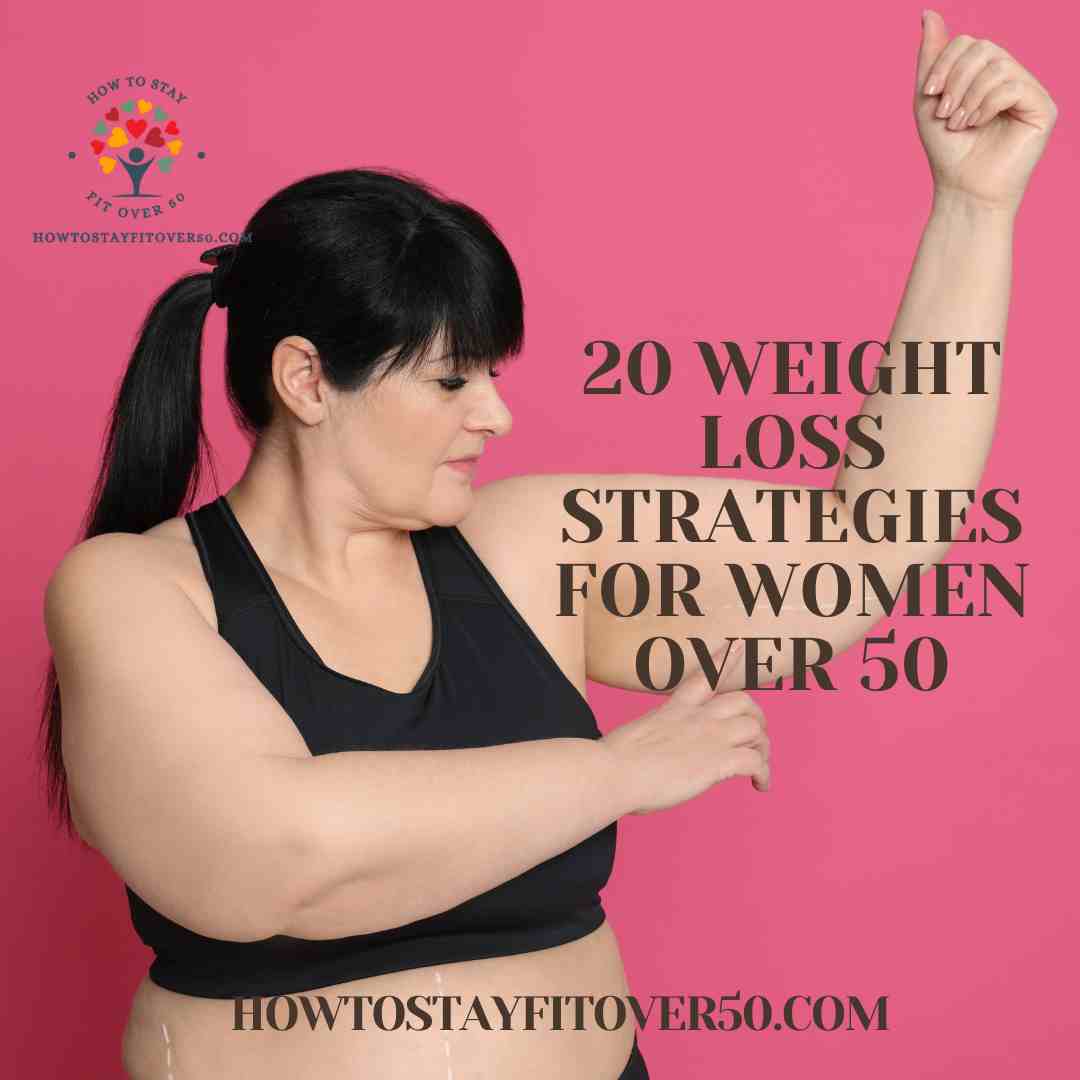
Losing weight. Not easy, is it? Especially as we age. Then add in that we make it so difficult. Below are 20 weight loss strategies for women over 50 to jump ...
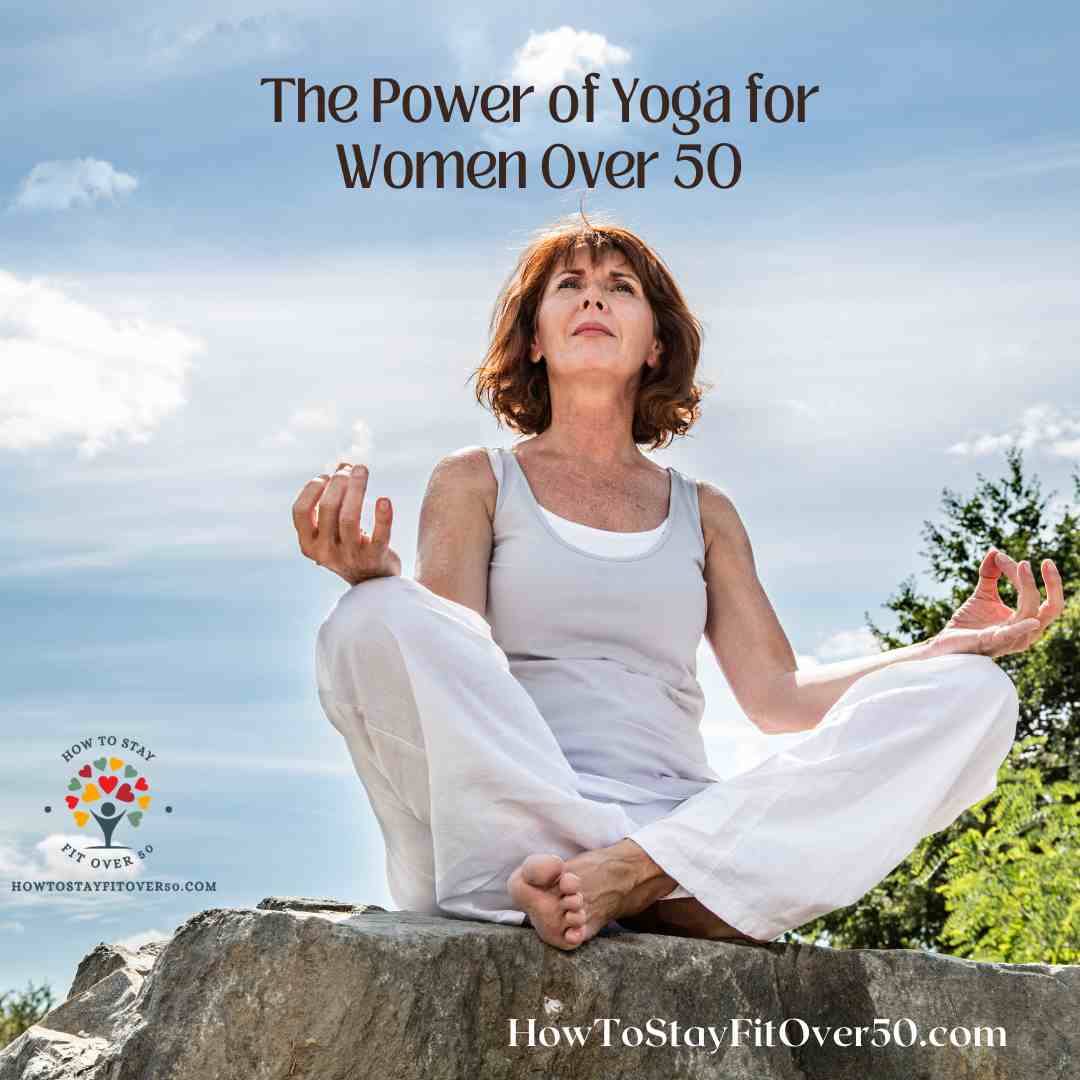
The power of yoga for women over 50, isn't just about striking a pose—it's a transformative practice that can improve physical health, mental clarity, and ...
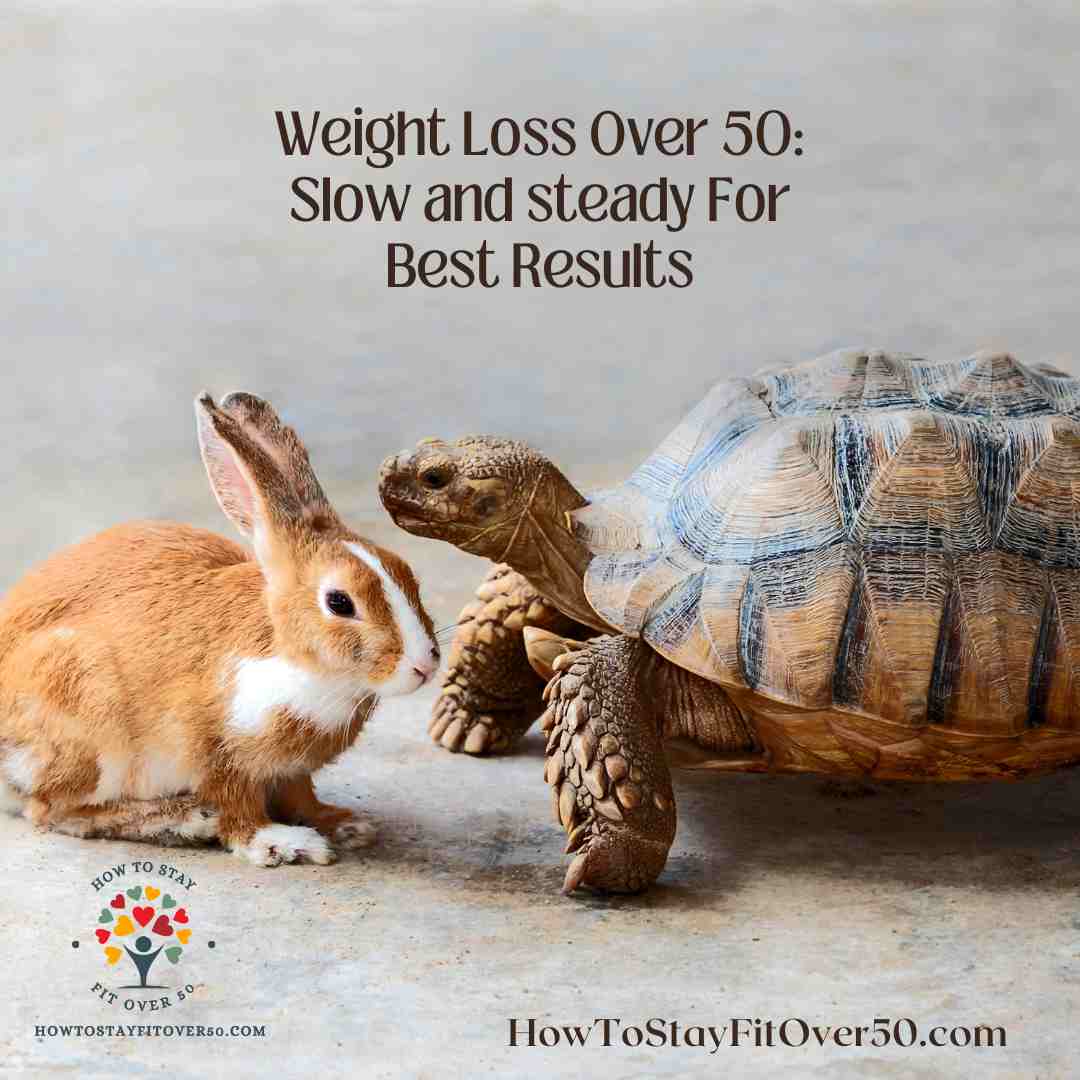
When I think about weight loss over 50, taking it slow and steady, it brings to mind Aesop's legendary tale of "The Tortoise and the Hare." Picture the hare ...

Amid the holiday chaos, have you checked everyone off your gift list? The real question: Did you remember the VIP on that list? You! The ultimate gift for ...
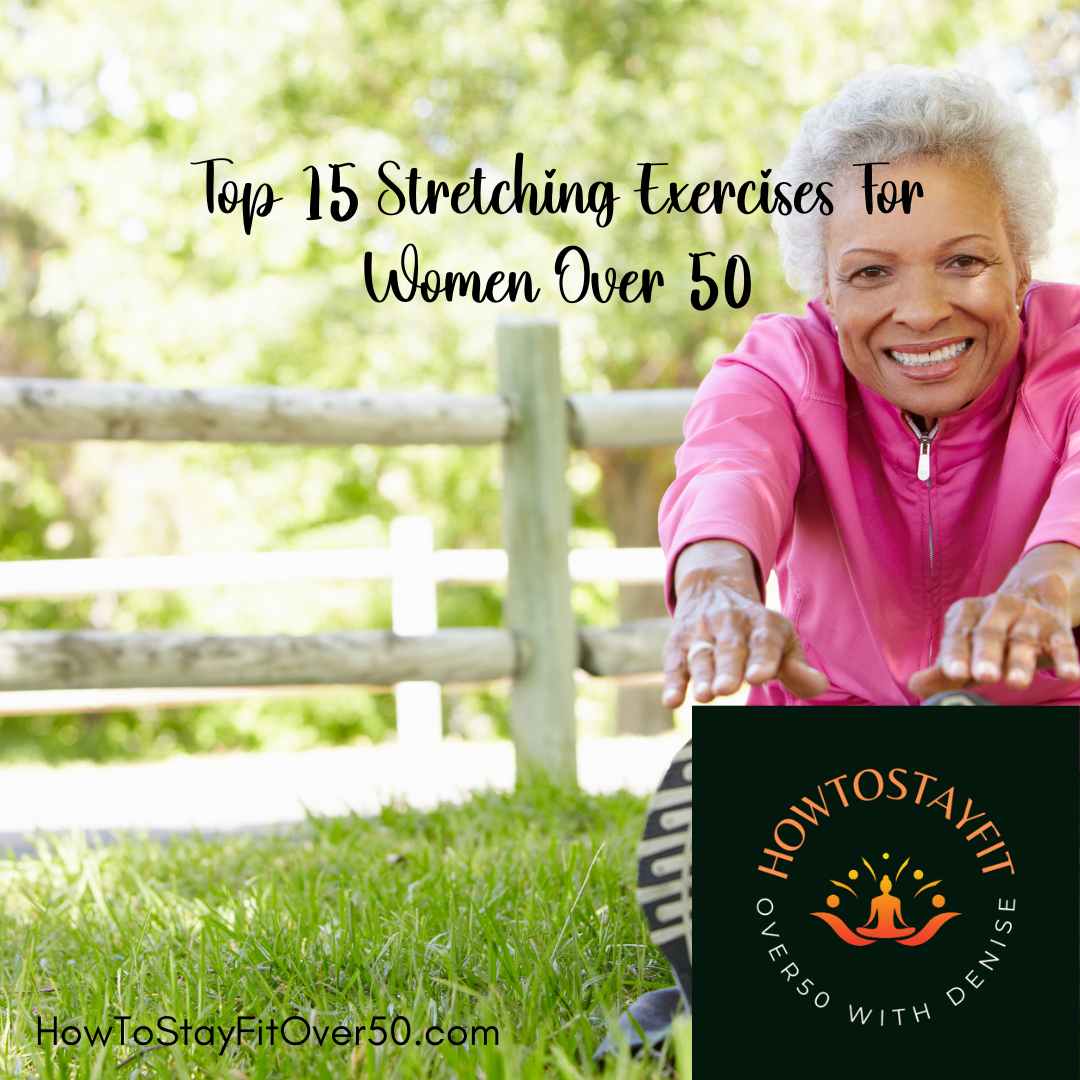
Stretching is an important part of any fitness routine, but it is especially important for women over 50. Below are the top 15 stretching exercises for women ...
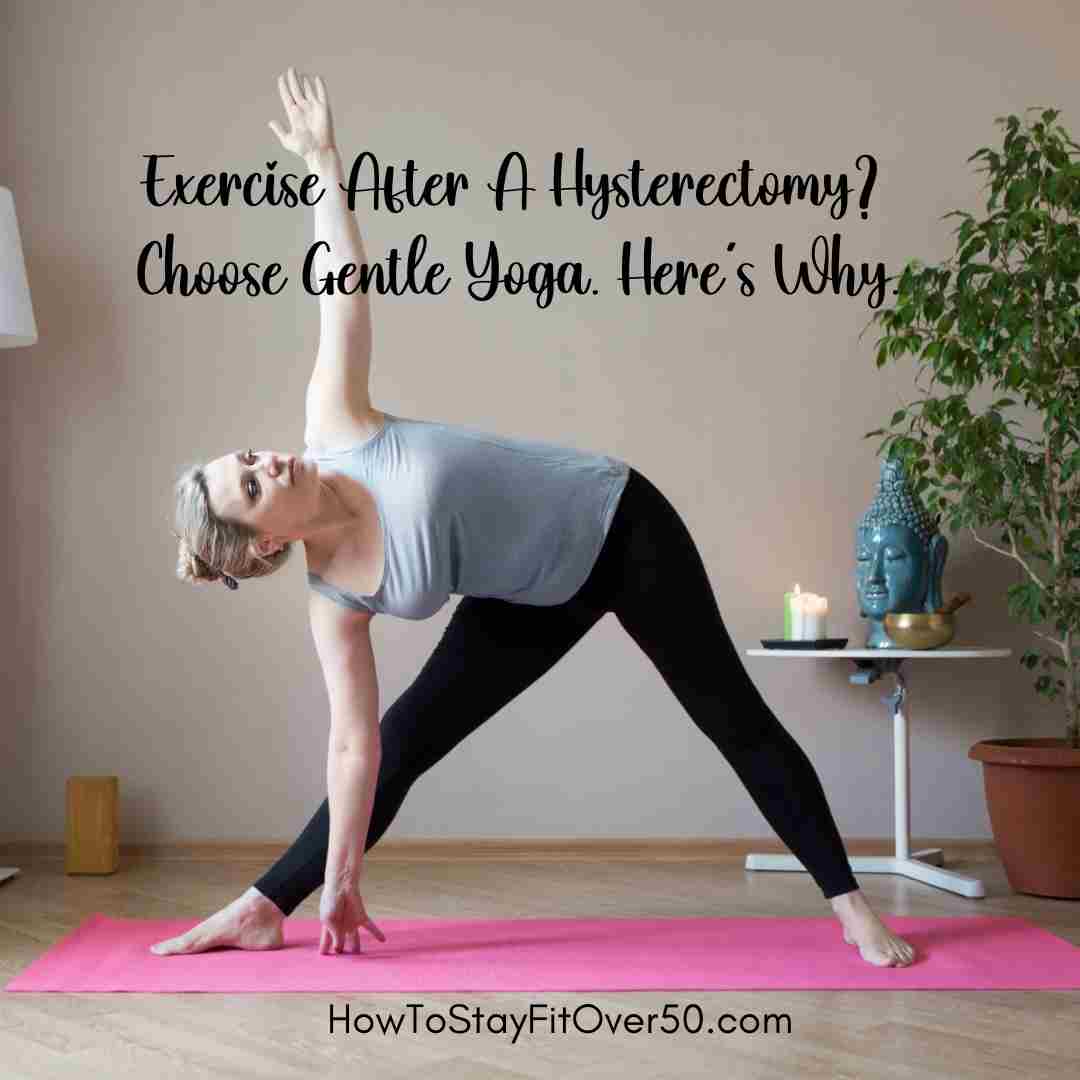
Well, as if childbirth alone wasn't enough, along comes menopause and often hysterectomy. After dealing with hemorrhaging every single month, I decided enough ...
Yoga, a centuries-old practice, is known for its holistic approach to physical and mental well-being and one of the best things you can do for your body. As a ...
